How To Seal Your Stone

To seal or not to seal? That’s the most common question for owners of natural stone countertops. Ask a couple of people whether you should seal your countertop, and you get a couple of different answers. However, there’s a good reason for this range of opinions...not all countertops need to be sealed! Check out this easy guide to sealing as well as tips and tricks to make your countertops look flawless.
What Sealant Does
Using a sealer on natural stone helps to protect it against stains, while also giving you a little extra time to clean up any spills that may occur on your surface. It’s important to note that while sealant does provide an extra barrier for your stone, everyday wear and tear will often still cause it to etch. To avoid excessive etching, we recommend cleaning up spills as soon as possible and using trivets and cutting boards when cooking and meal prepping.
Water Drop Test
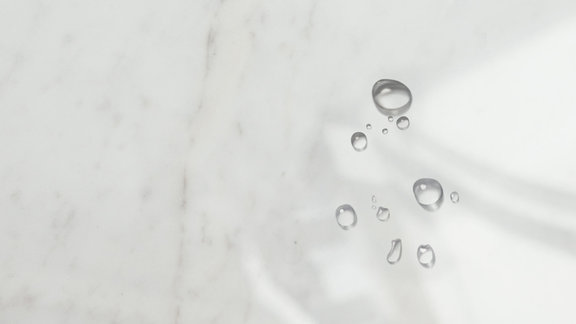
A simple Water Drop Test is one of the easiest ways to examine whether or not your natural stone needs sealing! First, sprinkle a tablespoon of water on your stone. Leave the water on the surface for about 15 minutes. If the stone darkens or if the water is absorbed in less than 4 minutes, then resealing is needed. This experiment can be done every few months to inspect the quality of your stone.
Types of Sealant
The type of sealant you use depends on the surface you intend to use it. Various stones require various treatments, so get to know your stone! Ideally, you want your sealer to be heat resistant and immune to household substances. There are two main sealers: topical and impregnators.
Topical Sealers
Topical sealers are coatings that will protect the surface area of the stone. This coating will guard against oil, water and other debris. They are cost-effective, easy to apply, and are slip resistant. However, low-quality coatings can discolor stone, and reapplying can often require harsh stripping.
Impregnators
Impregnators are water-based sealers that penetrate the surface of the stone. Although this solvent acts as a repellent against anti-stone substances, it still allows the surface to “breathe.” The majority of impregnators won’t change the stone’s appearance, are long-lasting and are not affected by UV lighting. However it’s generally not as cost-effective, and the application process can be more difficult.
How to Seal
1. Deep clean the stone.
Cleaning your surface before applying the sealant will ensure a more even application. Make sure to address any unwanted stains, because once sealed, the stains will lock in - which, of course, is something you want to avoid. If you are having trouble with stains, the Natural Stone Institute provides a detailed list of stains and how to remove them! Use a pH neutral cleaner and a lint-free cloth to wipe down the surface. Then, make sure the stone is completely dry before moving on to the next step.
2. Wear gloves and ventilate the area.
Most sealants are harmless but always take safety precautions. Wear gloves to protect yourself from harmful chemicals. Also, to avoid potent smells, open a window or turn on a fan to ventilate the area in which you’re working.
3. Test the product on a small area.
Always test your product before tackling the whole project. This is to ensure the sealer is compatible with the stone. If the sealer leaves a hazy residue or causes discoloration, use a different product.
4. Apply sealer with a soft cloth.
Always follow the manufacturer's application instructions. Manufacturers may require specific techniques or amounts of sealer depending on if the stone is polished, honed or flamed. Protect any surfaces where you don’t want sealer (i.e. faucets, sinks, stovetops, or walls). You can use plastic wrap for appliances; a magazine cover in between the wall and the stone will suffice. Follow the manufacturer’s instructions for “curing” time, as it can vary by product.
5. Remove the sealer.
The stone will absorb some of the sealant, however, there is usually a bit of excess left on the surface. Use a microfiber cloth and soak up the excess. You don’t want leftover sealer dried onto the counter as this can cause discoloration.
6. Apply additional coats (as needed).
Applying additional coats are normal. It is usually recommended to get the best coverage. We believe it never hurts to be thorough! The more porous the stone, the more likely additional sealer will be used. A general rule of thumb is to wait 15-30 minutes in between coats.
Sealing Specifics
Marble
Impregnators, acid resistant and food safe sealers are the best when sealing marble. Many believe that etching is an indicator to reseal, however, this is a myth. Etching occurs when acids get absorbed in the calcium-based surface that characterizes marble. Try using non-acidic cleaners when taking care of your marble.
Granite
Impregnators, food-safe sealers and fluorocarbon aliphatic resins are the best when sealing granite. Because of the density of granite, the solvents and resins need to be lightweight. Avoid linseed, silicon and siloxane resins as these can ruin your stone!
If you are unsure about which sealant to choose, we recommend Omni-Sealers! They have a variety of sealants that meet every project (and expectations) you have. We even carry a supply of Omni-Sealers at our location, so stop by to pick up your sealer (and explore our showroom) today!
References: Viatera, Premium Natural Quartz by MSI


